(If the formatting is messed up, it's because it's my first post. I'm trying to get used to the editor)
Concept
JPEG file has a
header and a footer. This can used to extract the JPEG file from the
disk image.
Format of JPEG
file on disk (hex):
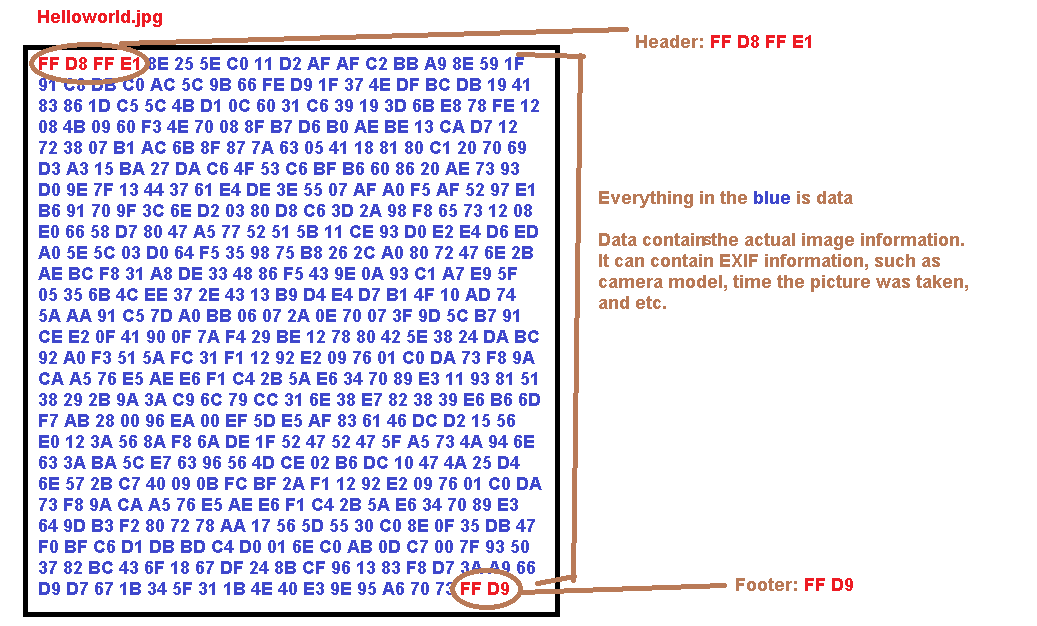
How carving works (this is obviously very simplified):

Extraction using bless hex editor
1. Open Bless Hex Editor
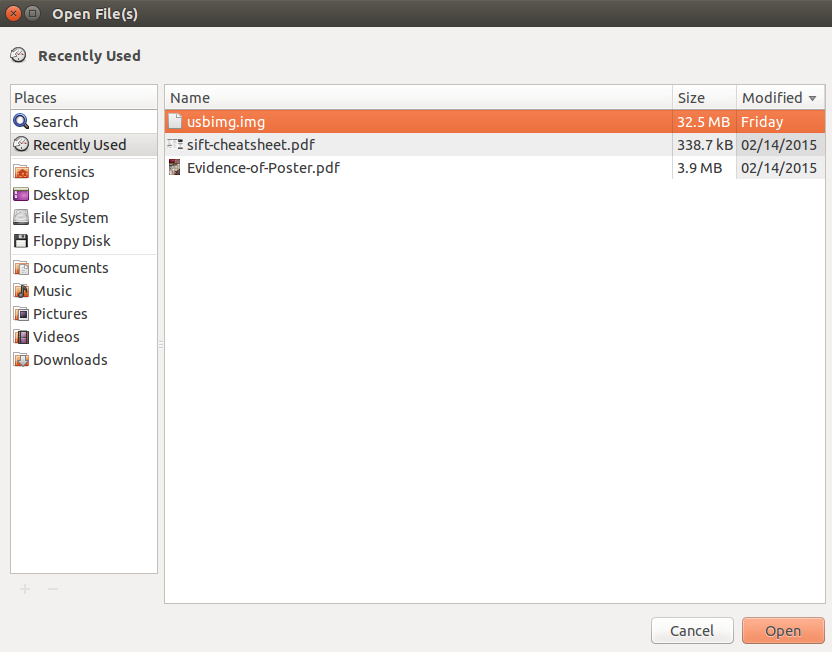
2. Open your disk image file
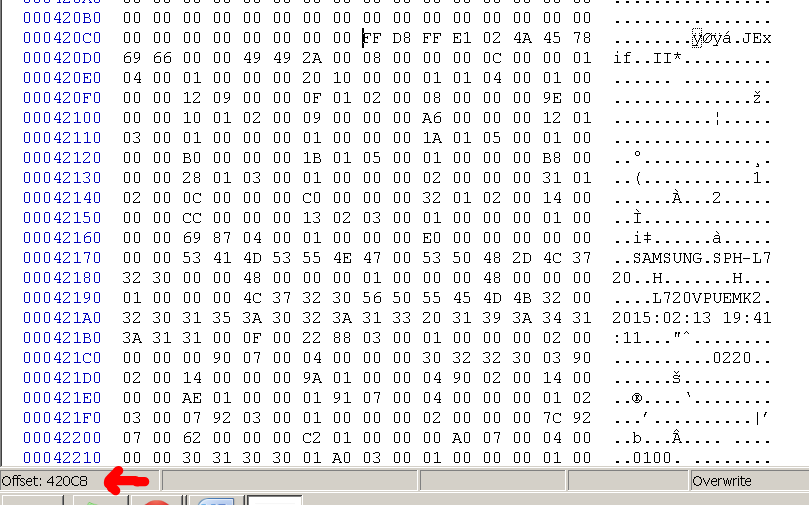
3. Search for the JPEG header (FF D8 FF E1)
4. Note the start address of the header. Screenshot below has the start address underlined. It’s 0x420c8.
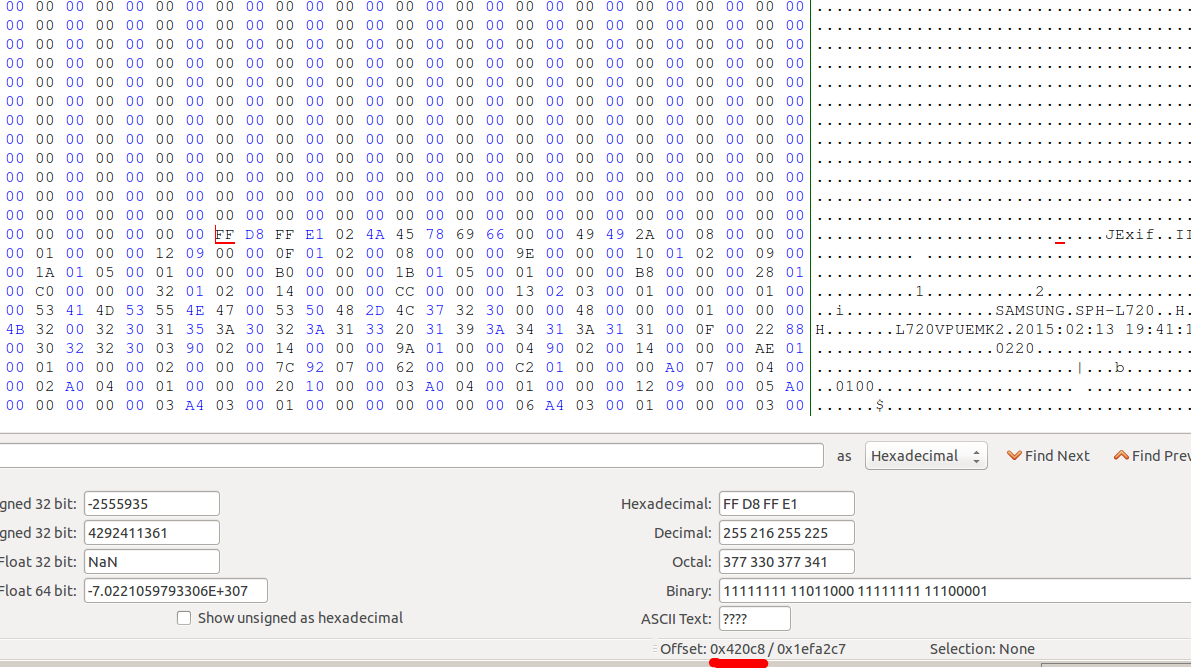
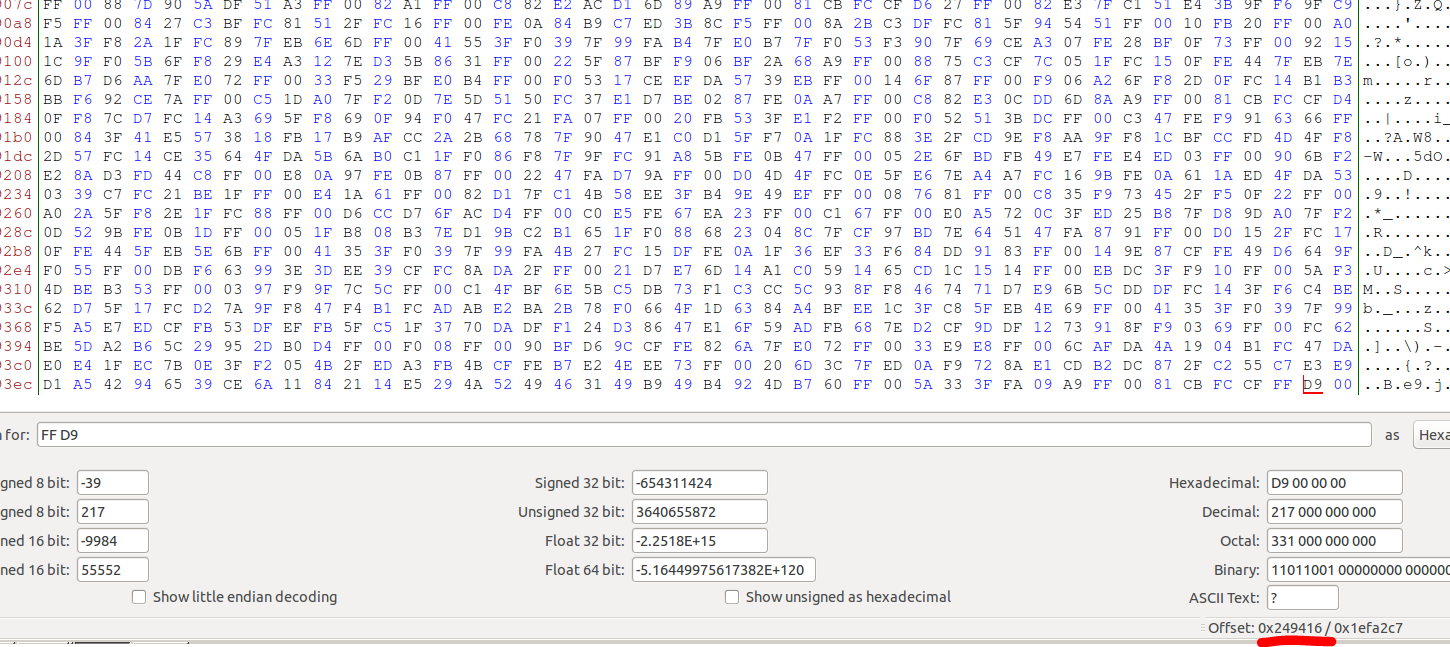
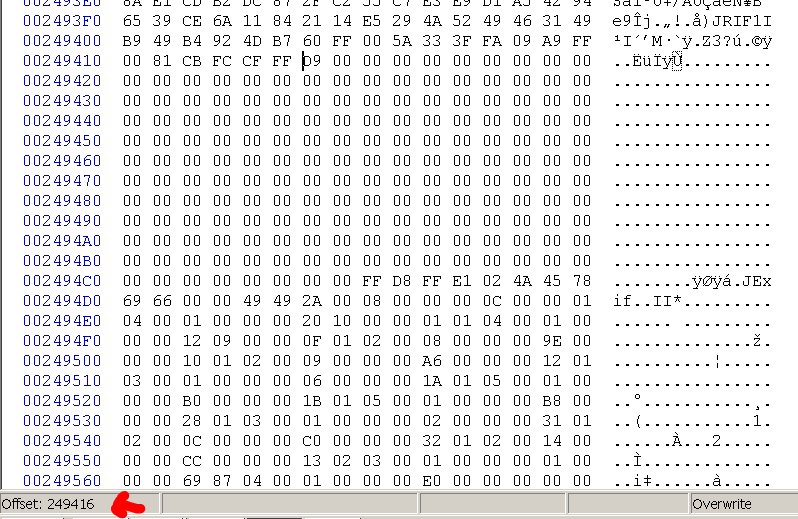
5. Find the footer and note the end address of it. For the screenshot below, the address of footer is 0x249416. Our image file is between the start of header address and end of footer address.
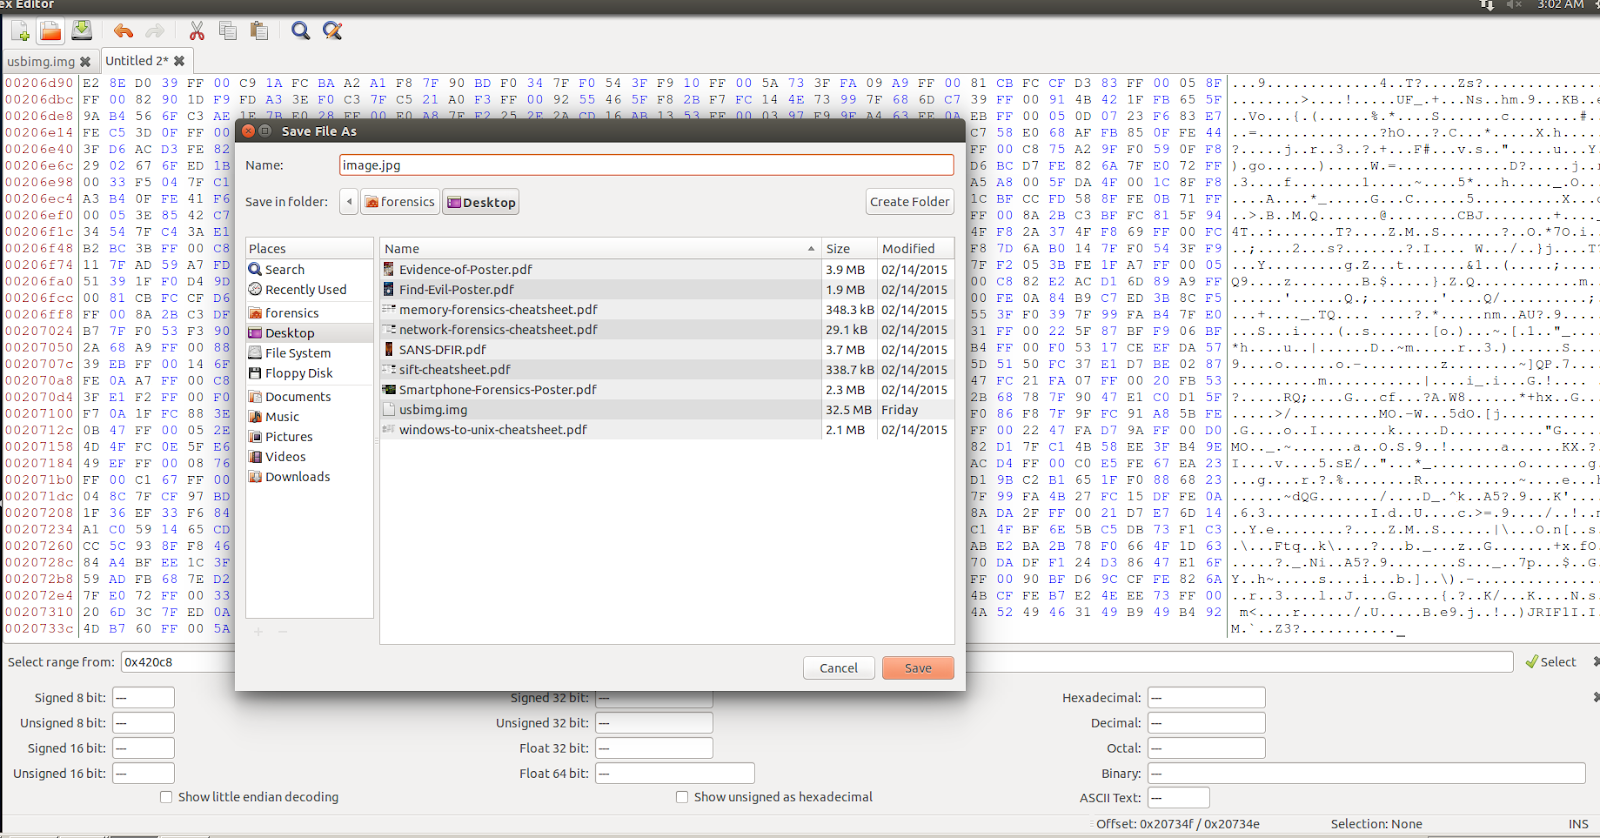
6. Select the hex data between the noted addresses. (Hint: Edit -> Select Range)
8. Create a new empty file.
9. Paste the hex data into the new file
10. Save the file as image.jpg
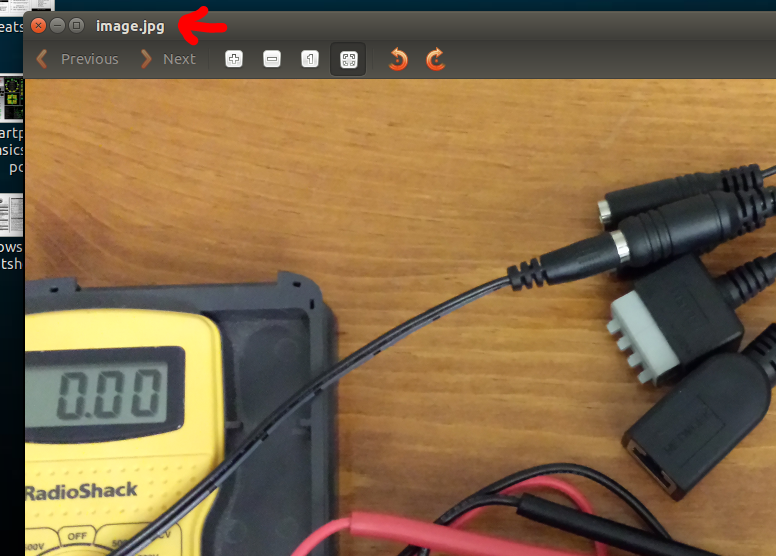
11. Open the jpeg file to confirm that you’ve successfully extracted it.
Extraction using HxD
1. Open the disk image using HxD.
2. Search for the header.
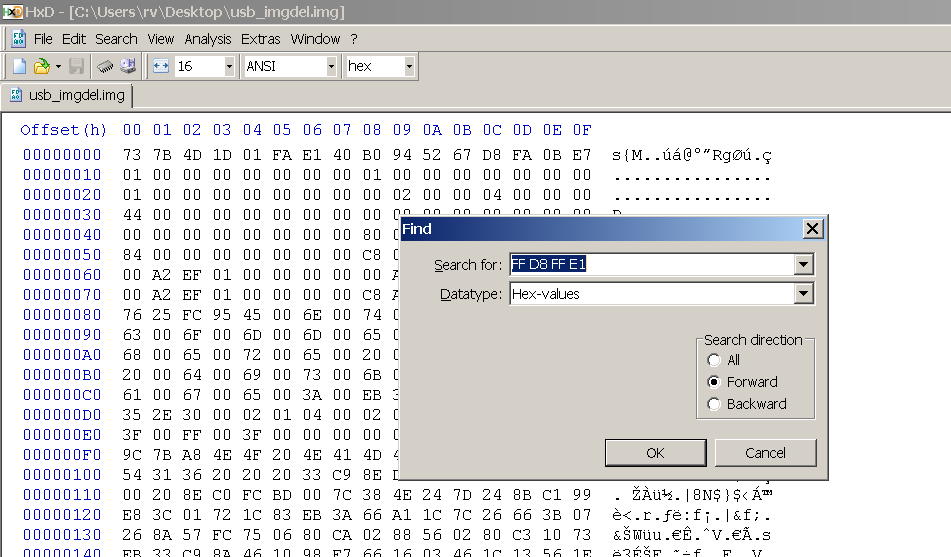
3. Note the header start address.
4. Search for footer and note its end address.
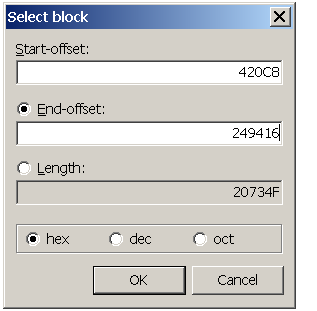
5. Select the hex data between header and footer addresses. (Hint: Edit -> Select block)
6. Copy the selected block.
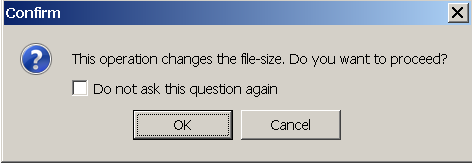
7. Create a new file and paste the data. Click Ok when this message box shows up.
8. Save the file as image.jpg
9. Open the file to confirm a successful extraction.
My resources
http://www.garykessler.net/library/file_sigs.html